If you’ve decided to get solar — or you’re close to signing a quote — you probably have questions about what actually happens. How long does it take? Do you need to be home? When does it start saving you money?
Here’s the honest, step-by-step picture of what a Gold Coast solar installation looks like from the first enquiry through to your first electricity bill after solar. No jargon, no surprises.
Key Takeaways
- Most Gold Coast residential solar installations are completed in a single day by the installation crew
- The full process from first quote to grid connection and live generation typically takes 2–6 weeks
- You’ll need to be home for the installation day, but the crew handles everything — you just need to provide roof and switchboard access
- Grid connection after installation is handled by your energy retailer and takes 1–4 weeks in South East Queensland
- Once connected, your system starts generating and saving immediately — most monitoring apps show live output from day one
Step 1: The Quote and System Design (Week 1)
The process starts with an enquiry — usually by phone, online form, or email. A reputable Gold Coast solar installer will then:
Review your electricity bills. Your bills tell the installer how much power you use, when you use it, and what your current tariff structure looks like. This is the foundation of a properly designed system — without it, they’re guessing at the right system size for your home.
Assess your roof. This is typically done via satellite imagery initially (Google Maps roof assessment is standard), with a physical inspection either before or on the day of installation. Key factors: roof orientation (north-facing is optimal), pitch angle, available panel space, existing roof penetrations, and any shading from trees, chimneys, or neighbouring structures.
Design a system for your situation. A quality installer won’t just hand you a standard 6.6kW package. They’ll recommend a system size, panel layout, and inverter configuration that suits your specific usage pattern and roof.
Provide a written quote. This should specify panel make and model, inverter make and model, system size, installation details, all applicable warranties, the STC rebate applied, and the total installed price. Don’t sign without this in writing.
Worth knowing: The direction your roof faces has a significant effect on when your system generates most of its power. North-facing panels peak around midday. East-facing panels generate more in the morning; west-facing in the afternoon. If you work from home and use most power during business hours, a different orientation split might suit you better than a pure north-facing system — a good designer will factor this in.
Step 2: Signing and Scheduling (Week 1–2)
Once you’ve accepted a quote, the installer handles the administrative groundwork:
Design sign-off. You review and approve the system design — panel layout on the roof, inverter location, cable routing.
Grid connection application. Your installer lodges a network connection application with Energex (Gold Coast’s distribution network operator) on your behalf. This is required before the installation can go ahead. Approval is typically granted within 5–10 business days for standard residential systems.
Installation scheduling. Most Gold Coast installers operate on a 1–3 week booking lead time in normal periods. As the STC rebate deadline (31 December 2026) approaches, schedules fill up significantly — so the earlier you book, the easier it is to get a date that suits you.
What you need to do at this stage: Sign the agreement, pay any required deposit, and confirm your installation date. That’s it.
Step 3: Installation Day (Day 1 of Installation)
Most Gold Coast residential solar installations are completed in a single day. Here’s what happens on the day:
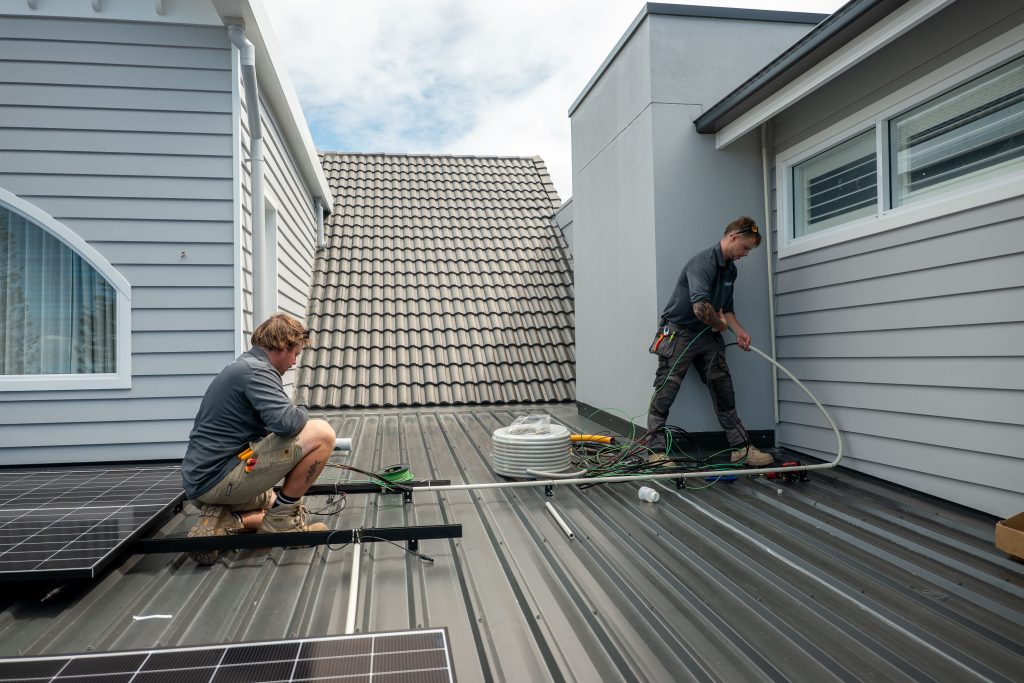
The crew arrives — typically early morning (7–8am). A quality installation team for a standard residential system is usually 2–4 people.
Safety setup and roof access. The team sets up safety equipment before going anywhere near the roof. They’ll check the roof structure and confirm the pre-agreed panel layout is still appropriate given any changes they observe on-site.
Panel mounting. Mounting rails are secured to the roof rafters through the roofing material. Flashing and sealant are applied around every roof penetration — done correctly, this is one of the most important parts of a long-lasting installation. Panels are then attached to the rails and connected in strings.
Inverter installation. The inverter is typically mounted in the garage, near the switchboard, or in a protected outdoor location. It’s connected to both the panel strings (DC input) and your home’s electrical system (AC output).
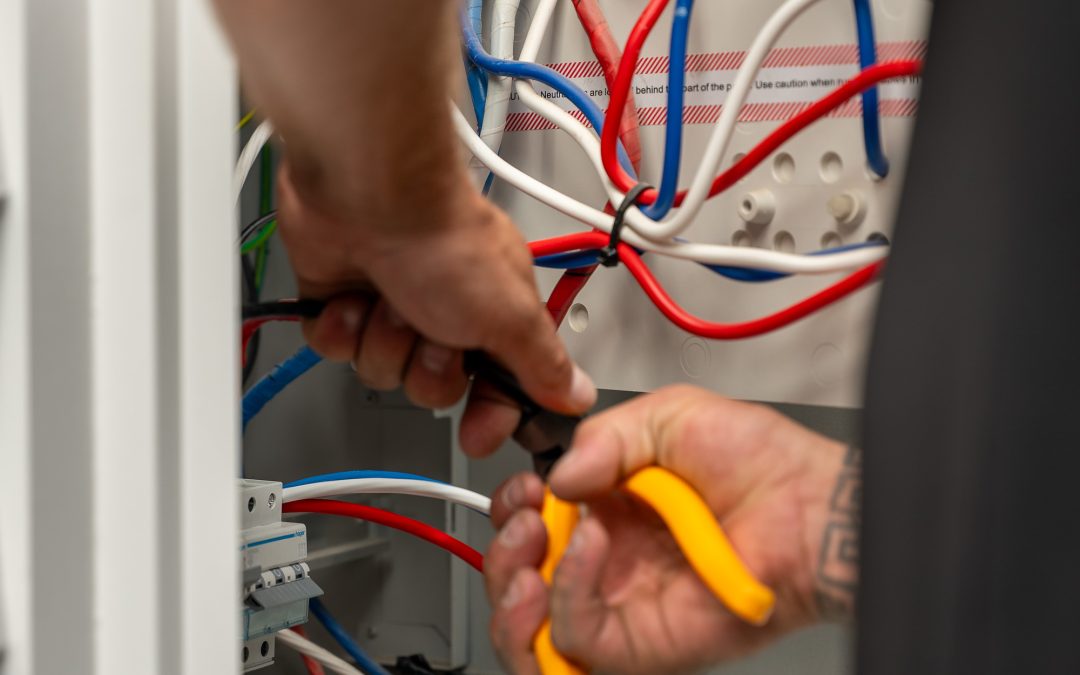
Switchboard work. A licensed electrician on the team modifies your switchboard to accommodate the solar connection and installs any required safety switches or isolators per Australian Standards.
System commissioning and testing. Once everything is connected, the system is powered up and tested. The installer verifies that all panels are generating correctly, the inverter is communicating, and the system is performing as expected.
Monitoring setup. Your installer configures the inverter’s monitoring system and helps you set up the monitoring app on your phone so you can see live generation data.
Handover. The installer walks you through the system, explains the monitoring app, provides all warranty documentation, and answers your questions.
Do you need to be home? Yes — you need to be present (or have an authorised adult) to provide access to the roof, switchboard, and electricity supply. You don’t need to be involved in the work itself. Solar Installation Timeline — Gold Coast 2026 Solar Installation Timeline — Gold Coast 2026 Quote + system design Days 1–5 — review bills, roof assessment, written quote Sign + schedule Days 5–10 — network application lodged, install date confirmed Installation day 1 day — panels, inverter, switchboard, commissioning, handover Grid connection 1–4 weeks — retailer updates meter, export approved Live and generating System generating from installation day — savings begin immediately Typical timeline for a Gold Coast residential solar installation from quote to grid connection. Most homeowners are fully connected within 3–5 weeks of signing.
Step 4: Grid Connection (1–4 Weeks After Installation)
This is the step that surprises many homeowners. After the installation is physically complete, there’s a waiting period before your system is officially connected to the grid and cleared to export.
What’s happening: Energex updates your meter to a bi-directional smart meter (if you don’t already have one) and updates their records to reflect your solar connection. Your energy retailer also needs to update your account to apply the correct solar feed-in tariff.
How long does it take? In South East Queensland, this process typically takes 1–4 weeks depending on your retailer and current queue times. Your installer should manage the notification process on your behalf.
Can you use your solar before grid connection is approved? Yes — your system generates and powers your home from the day of installation. What you can’t do until the grid connection is complete is export excess power to the grid. If you generate more than you’re using, the excess is wasted until the meter is configured for export.
What you need to do: Your installer handles the application. You may need to contact your energy retailer to update your account to a solar-compatible tariff and elect a feed-in tariff offer — your installer should advise you on this.
Step 5: Live Generation and Monitoring (From Installation Day)
Once your system is installed and commissioned, it starts generating immediately. From your first day, you can:
- Monitor live generation and consumption through the inverter’s monitoring app
- See how much power your panels are producing at any moment
- Track how much energy you’re using from solar versus the grid
- View historical generation data day by day
What to check in the first weeks:
- Confirm your system is generating output that roughly matches the installer’s projected figures (your installer should provide a generation estimate)
- Make sure you’re capturing as much solar as possible during daylight hours — run your dishwasher, washing machine, and other appliances during the day rather than evenings
- Once grid connection is complete, confirm your feed-in tariff is showing correctly on your account with your retailer
At LuxGrid Energy, we stay in contact with customers after installation to make sure everything is working correctly and the monitoring is set up properly. If your system isn’t performing as expected in the first month, call us — that’s what we’re here for.
What a Gold Coast Solar Installation Does NOT Include
To avoid surprises, it’s worth being clear about what a standard installation typically doesn’t cover:
Tree trimming. If trees shade your panels, you’ll need to organise trimming separately — the solar installer doesn’t handle this.
Roof repairs. If your roof has pre-existing damage that affects the installation, this needs to be addressed separately. A good installer will flag any issues during assessment.
Switchboard upgrades. If your switchboard is very old or doesn’t meet current standards, an upgrade may be required before solar can be installed. This is additional cost — a quality installer will identify this during the quote process.
Battery storage (unless included in the quote). If you decide to add battery storage later, that’s a separate installation process.
Talk to LuxGrid Energy about your Gold Coast solar installation →
Frequently Asked Questions
How long does solar installation take on the Gold Coast?
The physical installation of most residential solar systems on the Gold Coast is completed in a single day. The full process from signing to live grid connection typically takes 2–5 weeks, with the main variable being the grid connection timeline from your energy retailer (usually 1–4 weeks after installation).
Do I need to be home during solar installation on the Gold Coast?
Yes. You or an authorised adult needs to be present to provide access to the roof, switchboard, and electricity supply. You don’t need to be involved in the technical work — the installation team handles everything.
How do I know my solar system is working correctly after installation?
Your installer should configure monitoring software so you can track real-time generation and consumption through a smartphone app. Check that your daily generation figures roughly match the installer’s projected output for your system size and location. If there’s a significant discrepancy, contact your installer.
When do I start saving money after solar installation on the Gold Coast?
Your system starts generating and reducing your grid power draw from the day of installation. You won’t see the savings reflected in a bill until your next billing cycle, but the generation is happening immediately. Once grid connection is complete (1–4 weeks after installation), you also earn feed-in credits for excess power exported to the grid.
What if it rains or is cloudy on my installation day?
Solar installations proceed in most weather conditions — the crew works on the roof regardless of clouds. Rain at the start or end of the day may cause minor delays, but sustained heavy rain or storms would typically result in a reschedule for safety reasons. Your installer will advise you if weather is likely to affect your booking.
LuxGrid Energy installs solar on the Gold Coast and completes most residential systems in a single day. Over a decade of experience, 1,000+ installations, 10-year workmanship warranty. Book a free site assessment today →